Paracord is a lightweight nylon rope initially used as a parachute suspension line.
Today, it is used in fashion and as survival gear.
If you learn how to make various types of paracord knots, this can eventually be transformed into a hobby you can teach your relatives and friends. Also, knowing how to do the paracord knots can let you meet new acquaintances.
It will also help you develop skills that you will find helpful in your life someday. For example, you can work with your hands, practice hand-eye coordination, pay attention to details, and learn patience.
Thus, this article will discuss what paracord is, its benefits, and how to do the knot correctly. We will also talk about how to create them to make long-lasting paracord projects.
Why Should You Use Paracord?

Using paracord will give you lots of benefits.
First, paracord is durable and affordable. It is useful when you need a rope, especially when traveling outdoors.
With paracords, you can have a few feet of cord for tying or fixing something. Paracord projects useful for outdoor survival include belts, bracelets, knife handles, and pouches.
Second, paracord is a multi-tool that you can also use anywhere. It offers convenience even for the average user. It is easy to weave, tie, and untie. Indeed, a paracord is more than just a friendship bracelet that looks good on your hand!
Now, let's discuss further the uses of a paracord:
Paracord Practical Uses

Fishing Line
Using a strand of paracord can help you catch a fish, especially in murky water. You can also use stink bait, a cord, and a sharp hook to catch a catfish or other non-picky eater.
Making A Fire
The cord can help you make a fire, especially when you don't have a lighter or matches. It is suitable for the bow-and-drill friction fire step. Gather some dry leaves to create the fire immediately.
Shelter
Paracords can help you temporarily attach a shade you are building. You can use them on both tents or an improvised tarp for shelter.
Survival Bow And Arrow
If you are in the wilderness without supplies, a bow and arrow can help you hunt animals for food. You can build your hunting equipment using a knife, paracord bracelet, tree branches, flexible saplings, and feathers.
Tourniquet
Next, the cords can be used as a tourniquet, especially when one's arms, legs, or other body parts are bleeding after an accident in the wilderness.
Traps
Apart from making bows and arrows, traps can also help you have some food in a survival situation. You can use the cord of your bracelet for triggers and snare nooses.
Common Mistakes Of Beginners In Tying The Paracord
Here are some of the mistakes that beginners commit when they practice how to make paracord knots/ bracelets:

Buying Small Quantities Of Paracord
First-timers must learn the best types and sizes of paracords to use in their projects. They buy small lengths of paracord, and they end up running out of cord. Thus, it is best to buy extended paracords so you can always have an extra and practice how to do the knots repeatedly.
Creating A Wrong Knot
Most paracord bracelets must have a knot at the end to keep the cords in place. Thus, if you wish to dismantle the bracelet, you have to untie the knot in the future. If you want to avoid ending up with the overhand knot like most beginners usually do, you must follow the instructions given by the experts in paracord knots.
Going Ahead Of The Instructions
Sometimes, you are eager to see how your bracelet will look immediately, so you follow the instructions. However, you miss small details, and you end up messing up your knots.
Too Much Melting At The End
Some paracord knots require you to melt them on end to make them look neat and clean. However, some first-timers often spoil their paracord bracelets by dissolving them too much. You can not use too much heat, burn a significant portion of the paracord, and make it messy.
Two Ends Do Not Meet The Right Way
Another common mistake that beginners make is that the ends of the paracord bracelets need to meet correctly at the end. To do this correctly, you have to meet the location where the two ends of the rope meet. If you didn't do it correctly, you would have a higher chance of hurting your hands when you wear the bracelet.
Different Kinds Of Paracord Knots And Steps How To Make It
There are many available tutorials on how to do the paracord knots online. However, the secret to success is watching video tutorials and being eager to learn the technique. Here are some of the various types of knots and steps on how to do it:
The Cobra Knot
To do the cobra knot, you need to have two paracord strings. You can have one color or multi-color paracord for this project. Here are the steps on how to do this:
- Hold the two strings together with your fingers. Make sure that they are straight alongside each other.
- Take the left cord and form a loop. Then, put the rest of the rope behind the two significant strings.
- Put the correct string under the left strand and back to the loop you created using the remaining line.
- Lastly, tighten the knot.
The Cobra Knot Bracelet
You can also create a bracelet using the cobra knot. You can create one with or without a buckle. To do this, check out the following steps:
- Combine the two ends of the paracord string and hold them at the top of the candle flame. The rope will melt, so make sure the fuse is active.
- Next, take the paracord, fold it into two, straighten it, and wrap it around your wrist to measure your size.
- Make the first knot using the cobra knot. Per the instructions, take one rope end and create a loop beneath the cord. Put the other end of the line underneath and let it go through the loop.
- Continue weaving until you reach the end. In the future, keep it clean and neat.
- You can use a buckle or a clasp to end the knots and let them fit on your wrists.
The King Cobra Knot
Both the Cobra and King Cobra knots have the same type of weaving. However, the main difference is the final result. To have a King Cobra type of weaving, you need to take the old Cobra project and weave another one on top of it. You can have a better output using various colors to finish it than the previous knots.
The Lanyard Knot
The lanyard knot is more complicated than the others, requiring more skills and attention to detail. It is also known as a stopper knot as it wraps up bars and bracelets.
However, when you do it correctly, the result will look better, and it holds more robustness than any other knot. Here are the steps on how to do it:
- Bend the piece of the paracord. Create a loop and put your two middle fingers through the loop end.
- Next, using the right end, make a loop. Lay it over on the left side of your palm.
- Grab the left end and let it go beneath the right end. Put it through the loop on your hands and ensure the paracord goes over the circle beneath it.
- End the step with a shape that looks like the number eight with a diamond in the center.
- Lastly, take both ends and turn them counterclockwise. Then, put them through the diamond shape in the middle.
- You can start tightening the knot you created. Arrange it with your fingers so it looks neat and neat.
Indeed, the lanyard knot is one of the most complicated knots to do. But with constant practice, you will learn how to create one.
The Monkey Fist Knot
The monkey fist knot requires several items, such as a tiny but heavy ball, golf ball, needle, and paracords. You can use this knot to create a keychain or a bracelet for outdoor activities.
If you wish to create a project for self-defense, using a more robust ball to hit the attacker with more power is advisable. Here are the steps on how to do it:
- Open your left hand and hold the rope over its edge so that the short tail is in front of your hand and the more significant portion is behind.
- Grab the extended portion of the rope and wrap it around your fingers.
- Slide the looped cord off your hand and wrap the rope horizontally.
- Next, wrap the rope vertically once again.
- Put the ball inside the rope. You can have marble, steel, golf, or even rock.
- Tighten the knot and secure each string individually.
The Paracord Trilobite Knot
This type of project will allow you to include more than one paracord simultaneously. The knots are very similar to how you braid using four strings. One tip to make your project look right is to use two types of paracord colors bent in half. Here are the steps on how to do it.
- Hang the two pieces of string on a hook or a nail, ensuring they are equal in size.
- The two middle strings will be the core, while the outer lines will weave the projects.
- The exterior strings will go around the nearest line, then under and over the two main strands.
The Snake Knot
Snake Knot requires intricate weaving, but the result is fantastic when you use two colors for this type of project. This knot will mimic a snake's pattern or scales around your wrist. Apart from its uses for survival, this paracord looks decorative, too.
Here are some steps on how to do it:
- Melt the two paracord colors together and bend them to the melting point.
- Create the original loop and tie the circle with a knot.
- Loosen the base knot, grab the different string, and let it pass through. Then, tighten the knot once again.
- Turn the whole cord over, and you will see that one end has two loops while the other has just one circuit.
- Make sure to lose the knot on one side using one loop and pull using the different string.
- Turn the bracelet on its original side and continue weaving until you finish.
How Much Paracord to Have?
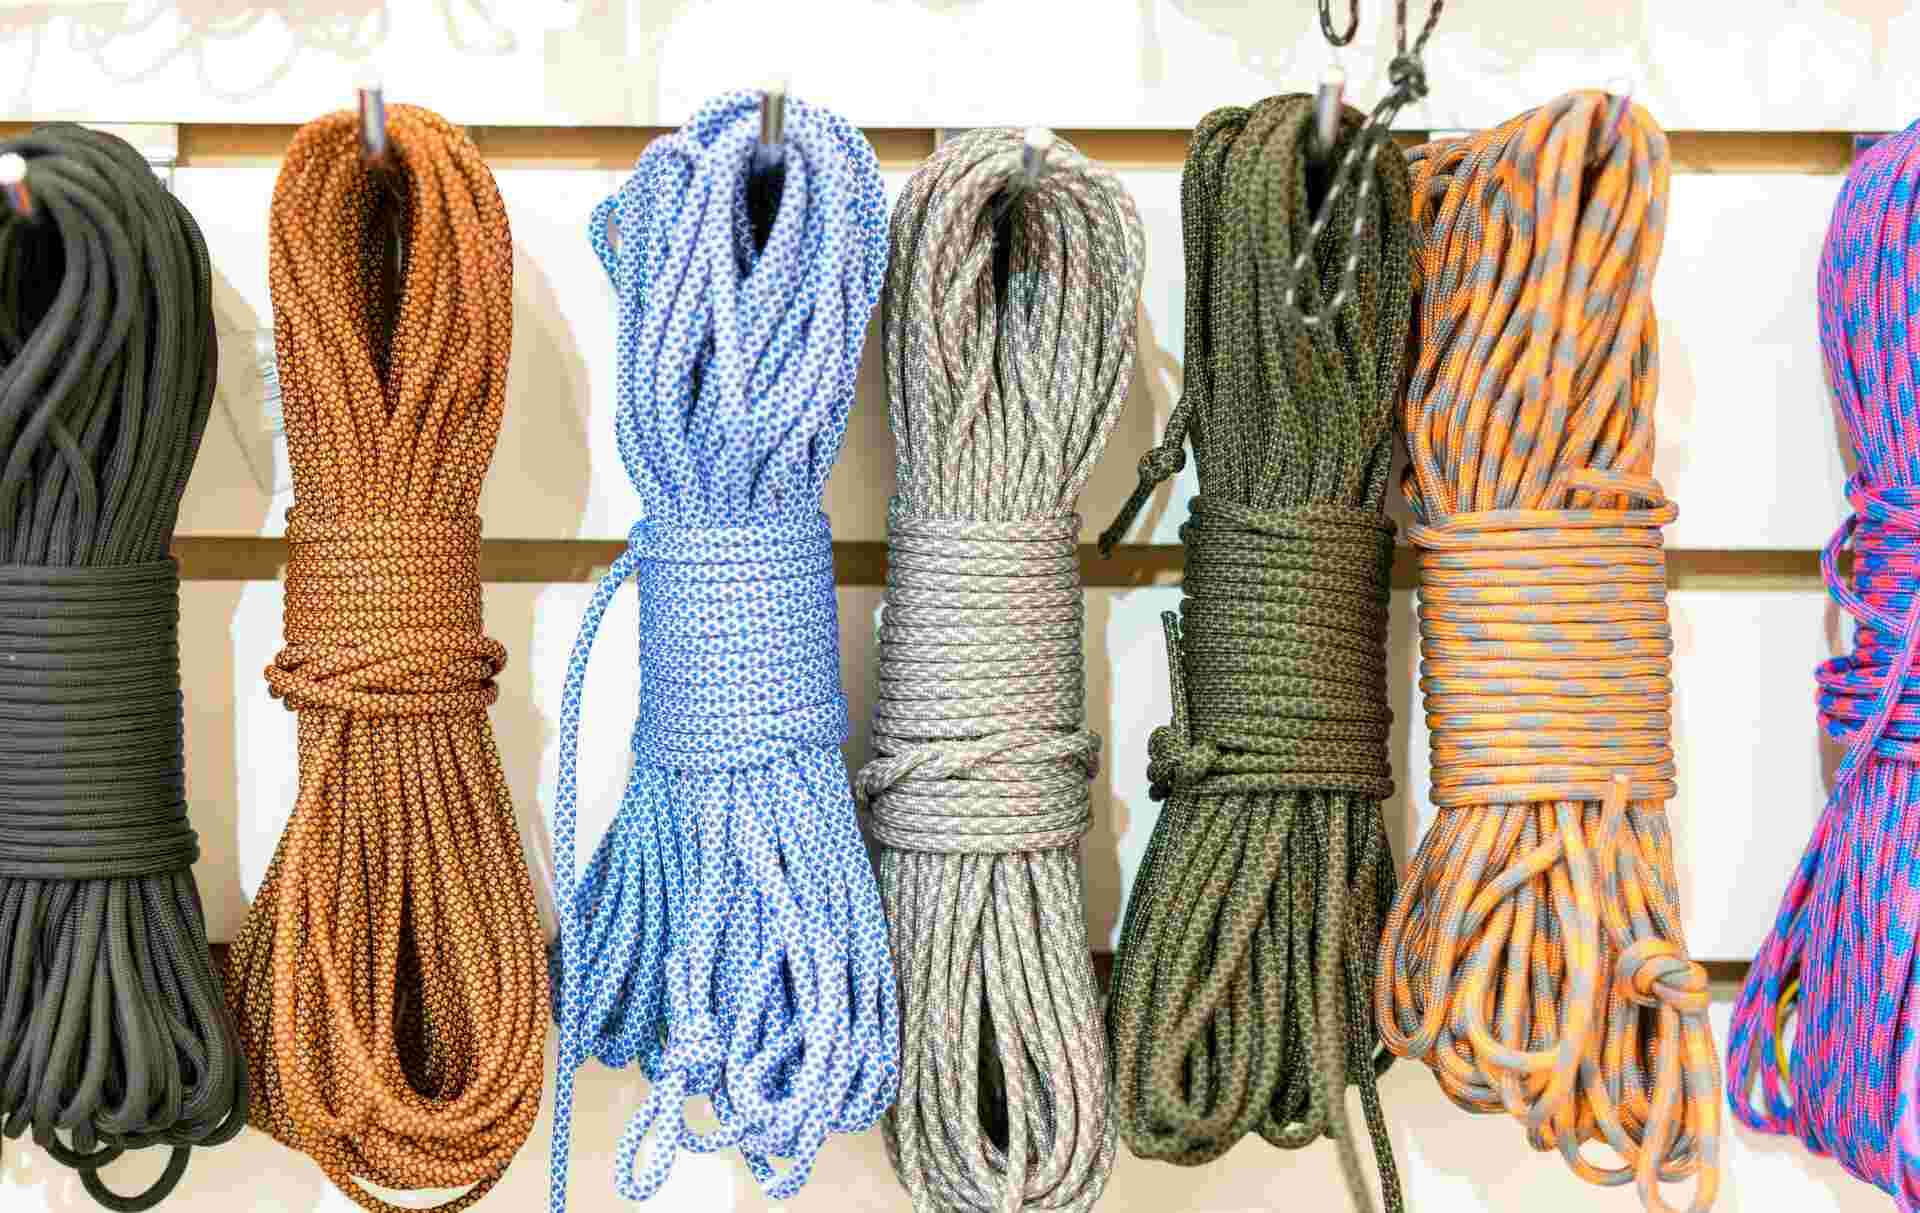
When buying a paracord for hiking or other outdoor activities, you can have a paracord as long as 250 feet. This length is enough to keep you for a long time. You can get yourself a paracord winder, dispenser, or spool to prevent the cord from being tangled.
Meanwhile, the general rule for bracelets is that one inch of bracelets equals one foot of paracord. This is true for the cobra weave. This is the general rule unless you have larger wrists or wish to make wider bracelets.
Remember that you will need a foot and a half paracord for the center strands. That is why most stores sell paracords in 10-foot lengths, which will give you enough to complete your bracelets.
Be Careful in Buying Paracords
A genuine military paracord will consist of a quality nylon outer layer and an inner layer of around 7 to 9 strands, each consisting of 3 nylon yarns.
If you unravel what is inside the military paracord, you will find an outer shell plus 21 to 27 individual threads wrapped together. The military paracords are those used as official military cords.
From experience, paracords made in the United States are better than those of other brands. This is due to the weave, tightness, and materials used. Be prudent when choosing your paracords. Remember, you get what you pay for.
The purpose of these cords is to help you in emergencies. As such, you must have a cord that you can depend on. Thus, always keep this in mind when purchasing your paracord. No matter where you buy your paracord, it is best to be skeptical about the product's marketing strategy.
Whichever type you get, always test it. This is true before you end up in a situation that can mean life and death.
How to Test the Quality of Your Paracord

One of the easiest ways to test your military paracord is to see what makes it unique versus the commercial cords. Again, the military paracords are made of 100% nylon on the inner and outer shells. It consists of three 100% nylon yarn.
The commercial cord replaces nylon with polyester. Also, there are only two strands instead of three. Two strands are fine, but it is not according to the military standards. With these tips, you can determine if the paracord you've bought is close to military specifications.
First, check out how many yarns are there in the inner core. See if it has three strands because this is supposed to be the standard.
Next, check if the inner strands are made of nylon. You can determine if the inner strands are polyester or nylon by joining them with nylon, burning the end tips, and fusing them all. Nylon will join together with nylon.
In contrast, polyester will not go together with nylon. If you have an inner polyester strand plus a nylon outer layer, you can have some problems. Creating one line with your strands will be challenging since the inner yard will not bond with the nylon outer layer.
You can also conduct a field test with your paracord to determine its quality. You can use it for anything in the wild, such as making traps and shelters.
Try applying pressure to see if it can withstand anything. Rip the cord apart and use the outer shell to fasten a knife and stick. You can practice using the stick as a spear. Ensure the product you get is good enough for your plans. By practicing simultaneously, you can also improve your skills. This is indeed a win-win situation.
Meanwhile, even if your paracord is not military-spec, you don't have to worry if you feel the quality is tight. Regardless of its origin, you can still use it for your projects.
Expiration and Storage of Paracord
The quality of paracord degrades with its exposure to UV light. This is true when you leave it for long hours under the sun's heat. It degrades in a slow process. Do not use the paracord, even those according to the military specifications for rappelling or rock climbing. The lines used for these activities are manufactured differently and have higher breaking strength.
Apart from this, there is nothing much you need to worry about. There is actual wear and tear from using it with sand and dirt over time. To prevent its damage, you must see that it is properly stored. Keep it out of the reach of the sun. Make sure to use it sparingly.
Also, it is better to use a new paracord than the same one repeatedly. Store the nylon paracord in a cool, dry place to prevent mildew. It can be exposed to humidity.
Place it inside a bag or container, away from sunlight. Some paracords do not rot or fade in color, depending on their materials. However, no paracord is entirely indestructible. Keep your cords away from chemicals.
Examples are harsh detergents, cleaning solutions, oil, kerosene, gasoline, white gas, paint, turpentine, and acid. These can react with polyester and nylon and damage the cord. These tips are ideal for storing any gear in the stockpile. Remember this if you plan to store the gear inside your house in emergencies.
In summary, always check your paracords for any signs of friction or abrasion damage. You'll understand this soon when you use them for something important. Indeed, it is better to be safe than to be sorry.
Tips in the Conservation of the Paracords
You can make the cobra bracelet even if you don't detach the cord from the spool until finished.
Set up your bracelet core using the 4 to 5 feet of slack at the end of the line as you weave. You don't need to fit the spool through a knot as long as you use the standing end as the top cord while weaving.
Second, save the 3- to 5-foot segments to practice doing the new knots. Use your leftover paracord pieces to make keychains, rings, and zippers. Also, you can use the scrap paracords to weave 3 inches of a project.
Then, measure how many paracords you have used. Divide it by three to have the per-inch amount for that weave alone. Even though guidelines are available everywhere, estimating the amount of paracord to use for your projects can be challenging.
Thus, the best solution is trial and error. Tutorials available online include how much paracord you need, but not all apply as accurately.
Conclusion

Learning to do the paracord knots can save you, especially during emergencies.
The examples listed above are some of the paracord knots you can do, and there are hundreds of cases.
Indeed, learning the paracord knots is enjoyable, and people of all ages can do it.
You can start by making the necessary knot and progress gradually. Although it might be a bit frustrating initially, nothing is more rewarding than seeing your first finished project.
When you finally master the methods discussed above, you will forget the frustrations you once had.